
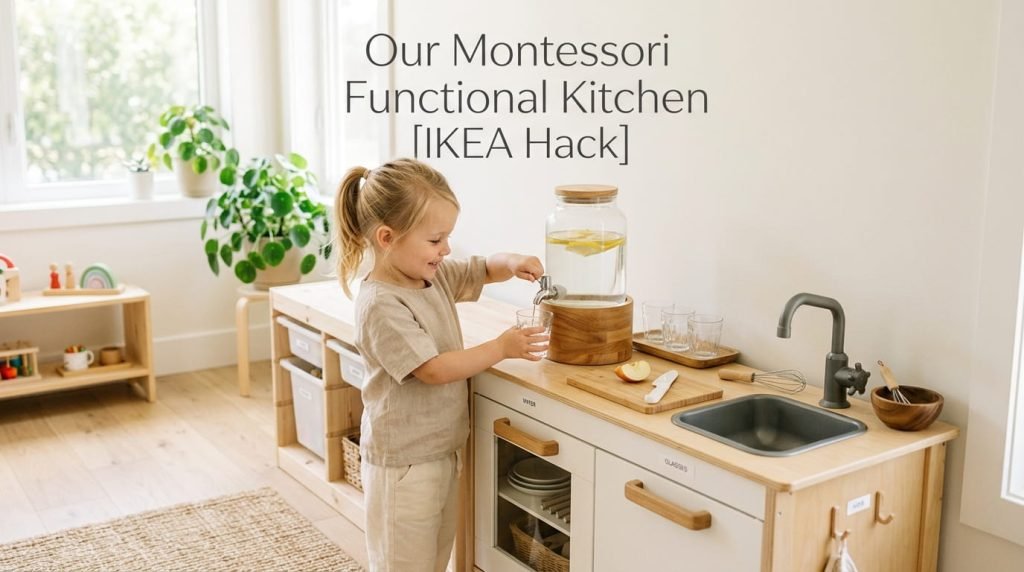
Montessori kitchen setup can turn everyday kitchen activities into simple opportunities for toddlers to learn, explore, and become more independent. Instead of creating a separate play space, parents can make small changes to the real kitchen so children can safely take part in age-appropriate tasks.
Short answer: the cheapest Montessori kitchen setup that genuinely works is a BEKVÄM step stool at $34.99, a RÅSKOG utility cart at $39.99 and a VARIERA shelf insert at $13.99, which is about $89 and needs no play kitchen at all. If you want the full build, add the DUKTIG play kitchen at $129.99 and strip the fake microwave, fake tap and light-up hob off it. Most families start between 16 and 18 months. The thing that decides whether it works is not the furniture, it is whether your child can reach water, a bin and a cloth without asking you.
Almost every guide to this subject describes the idea and then stops. What is missing is the list: what to buy, what it costs, what to take off it, and what you can skip. This is that list, with current IKEA US prices.
One honest note before the list. A Montessori kitchen is not a purchase, it is a rearrangement. The families whose setups work best have often spent under a hundred dollars, and the ones with beautiful three-hundred-dollar corners frequently find them unused, because the child still cannot get a cup of water without help.
Montessori Kitchen Setup
What a Montessori Kitchen Is, and What It Is Not
A functional toddler kitchen gives a child real access to real tasks. Water they can pour. A cloth they can fetch. Plates they can put away. Actual food they can cut with an actual, blunt knife.
It is not a play kitchen. This distinction is the whole thing. A toy kitchen with a plastic hob that lights up and a tap that does not run teaches a child to pretend. A functional kitchen teaches them to do. If you buy an IKEA play kitchen as your base, and many people sensibly do because the height and price are right, the first job is removing the parts that pretend.
So the test for anything you put in this space is simple: does it do something real? A glass pitcher with actual water in it passes. A moulded plastic fried egg does not.
When to Start
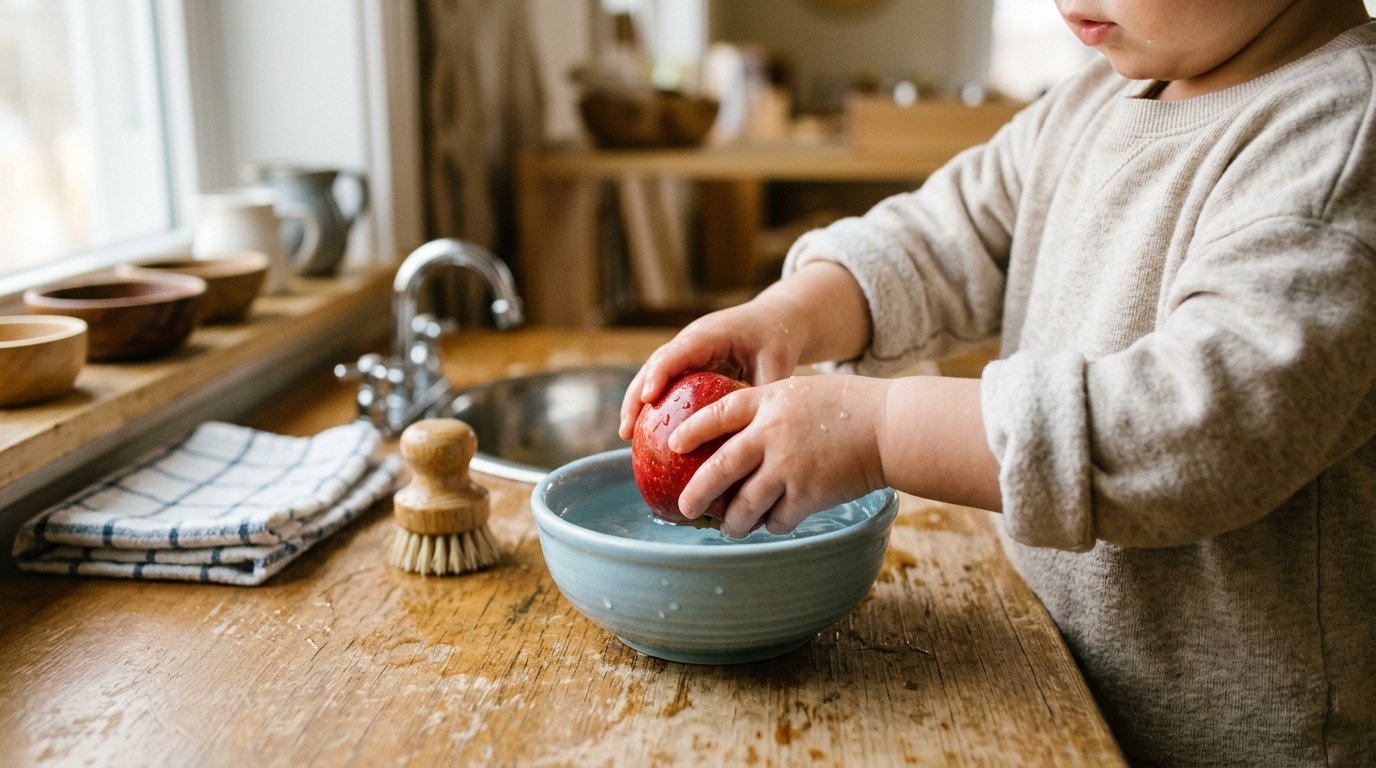
Most families start between 16 and 18 months, which is when a toddler can walk steadily, carry an object in both hands, and wants very badly to do whatever you are doing. Some start at 12 months with nothing but a low drawer of wooden spoons.
An honest caveat nobody else on this topic mentions: IKEA rates both the DUKTIG and SILLTRUT kitchens 3+. That rating is about small parts and stability, not Montessori philosophy. Plenty of families use them from 18 months, and I would too, but that means you are responsible for anchoring the unit, removing small removable pieces, and supervising. Do not skim past that because a blog told you 18 months is fine.
The Four Zones Every Setup Needs
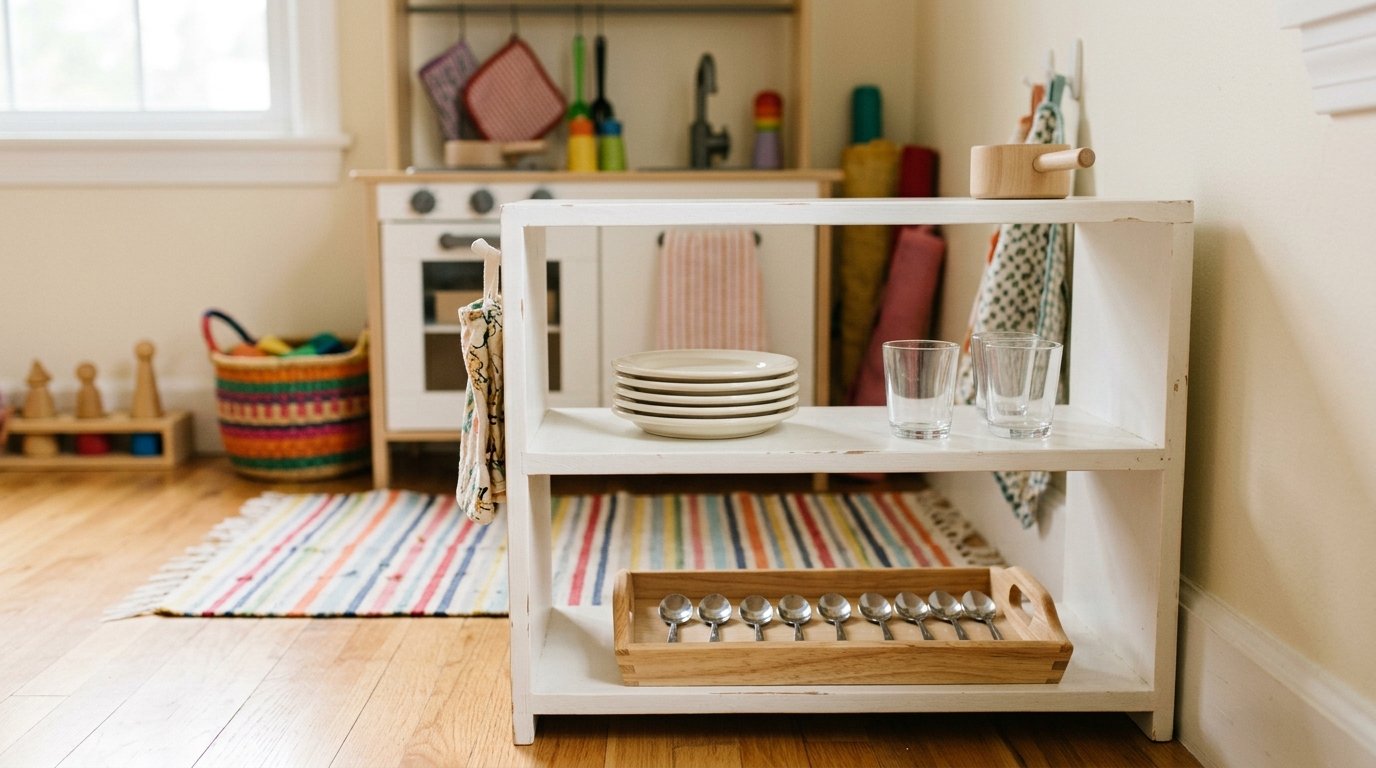
Forget the furniture for a moment. A setup works when four things are within your child’s reach without asking. Get these right in a kitchen drawer and you do not need any of the products below.
- Reach. A surface at their height, or a stable way up to yours. This is the one people get wrong by buying a low table when what the child actually wants is to be at the counter with you.
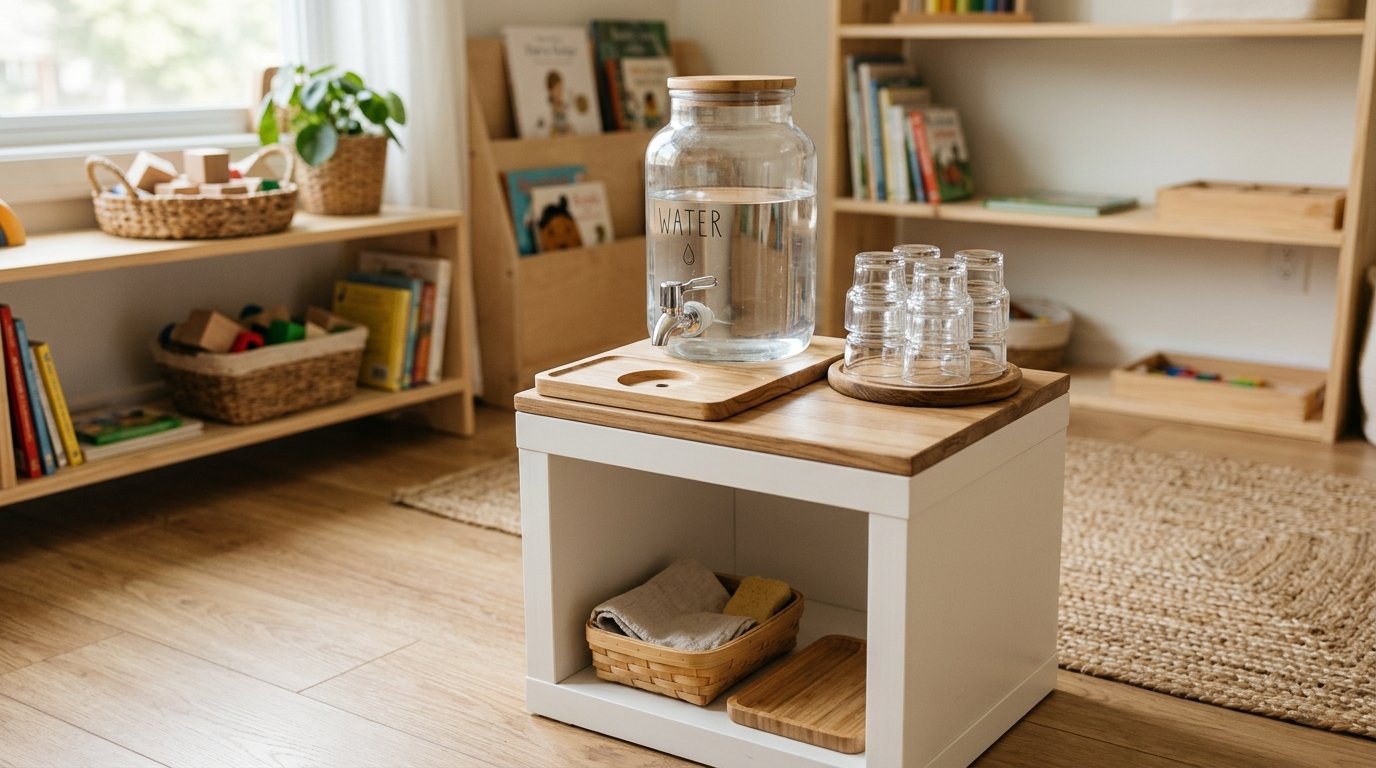
- Water. A jug they can lift, a cup they can reach, and somewhere it is acceptable to spill. Water is the single most-used part of every functional kitchen, and the most commonly left out.
- Prep. A tray, a board, a blunt knife, and food that is already washed and ready. A prep zone with nothing prepared in it is decoration.
- Clean. A cloth, a small dustpan, a bin they can open. Without this, every activity ends with them calling you, which defeats the purpose entirely.
If your setup is being ignored, it is almost always because water or clean is missing.
The IKEA Build List, With Current Prices
Prices are IKEA US, checked August 2026. They change often, so confirm before you order.
- BEKVÄM step stool, rubberwood, $34.99. Two steps, 19 5/8 inches tall. The most useful single item on this list, because it brings your child to the real counter instead of a pretend one. Buy this first even if you buy nothing else.
- RÅSKOG utility cart, white, $39.99. Three tiers on wheels. Becomes a complete mobile kitchen: cups on top, snacks in the middle, cloths at the bottom. Wheel it away when you need the floor back.
- DUKTIG play kitchen, birch, $129.99, article 603.199.72. The base unit most hacks start from. Legs adjust to three heights, which is the actual reason it works. See the next section for what to remove.
- SILLTRUT kitchen for children, grey, $99.99, article 205.444.92. Thirty dollars cheaper than DUKTIG and slightly smaller. Note IKEA calls it a ‘kitchen for children’ rather than a play kitchen.
- TROFAST frame, white, $89.99, plus TROFAST storage boxes at $5.00 each. Open, child-height storage. Boxes pull out completely, which matters, because a toddler can carry a whole box to the table.
- FLISAT children’s table, pine, $99.99. The lift-off lids take TROFAST boxes, so it doubles as prep surface and storage. Watch for stale $49.99 figures in search results; that price is out of date.
- VARIERA shelf insert, white, $13.99. A stackable steel riser. Put it inside an existing low cupboard and you have doubled the reachable storage for fourteen dollars, with no new furniture.
- KNAGGLIG box, untreated pine, $19.99. Note the online minimum order is two. Good for fruit and vegetables that do not need refrigerating, at floor level where a child can choose.
Three sensible budgets from that list. Around $89 buys the stool, the cart and the shelf insert, which is a complete working setup. Around $165 adds a SILLTRUT. Around $310 gets DUKTIG, TROFAST frame and boxes on top. The $89 version is not a compromise; for a child under two it is often better, because there is less to ignore.
The DUKTIG Hack: What to Take Off
This is where most IKEA hack posts add things. The better move is subtraction. Take off anything that imitates a function instead of performing one.
- The fake microwave. It opens and closes and does nothing. Remove it and you gain a shelf.
- The non-working tap. The cruellest part of the unit, because a child will keep trying it. Either remove it or plumb a real water source, meaning a small dispenser or a jug.
- The light-up hob. Lights and sounds teach a child to watch rather than to act. Take out the batteries at minimum.
- The curtain and any decorative panels, if they hide storage your child could otherwise see. Visible means used.
Then add the things that do work: a real jug, a real cloth, real plates, a small dustpan. Set the legs to the lowest height that still lets them work comfortably, and anchor the unit to the wall.
DUKTIG or SILLTRUT
Both are current, both are rated 3+, and IKEA states no relationship between them, so one is not replacing the other.
Pick DUKTIG at $129.99 if you want the adjustable legs, which genuinely extend how long the unit stays useful, and if you want the larger surface. Pick SILLTRUT at $99.99 if the space is tight or the budget is, since it is smaller and cheaper and the difference in practice is modest once you have stripped the fake parts off either one.
And the answer to the question people actually ask on Reddit: if your child is under two, buy neither yet. Buy the stool and the cart, and see whether the setup gets used before you commit a hundred and thirty dollars to furniture.
The Cheapest Version That Still Works
If you have no space or no budget, you do not need any of the above. Give over one low drawer or cupboard in your existing kitchen and put in it: two cups, two small plates, a cloth, a small jug, and a tray. Add the BEKVÄM stool so they can reach the counter and the sink.
That is a complete Montessori kitchen setup. It costs thirty-five dollars, occupies no new floor space, and has the significant advantage of being in the room where the actual cooking happens, which is where your child wants to be.
Tools Worth Buying, and the Plastic Question
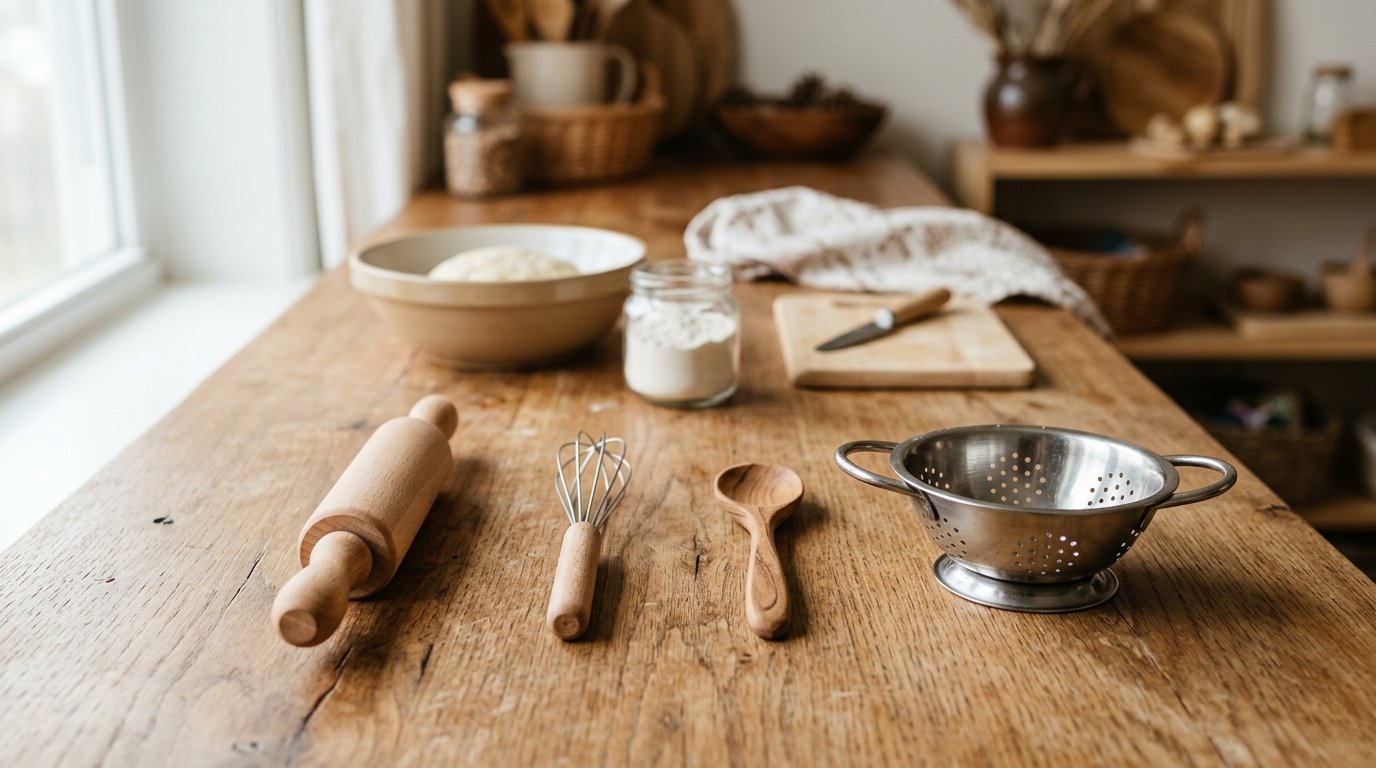
Real tools, child-sized where it matters. The point of a real tool is that it works, so a blunt plastic knife that will not cut a banana teaches frustration rather than skill.
- A blunt child’s knife that actually cuts soft food. A wavy crinkle cutter or a nylon lettuce knife both work.
- A small glass jug and a small glass cup. Glass because it gives feedback and because it teaches care. This is deliberate, not careless.
- A wooden board, small enough to carry.
- A small dustpan and brush, and a cloth cut down to a size they can wring out.
- A trivet or tray to define the workspace. A defined edge helps a toddler enormously.
On plastic: a paediatrician-authored guide currently ranking for this topic argues for stainless steel over plastic, citing the American Academy of Pediatrics’ 2018 report on food additives, and specifically the concern about heating food in plastic. That is a reasonable position worth knowing about. It matters most for hot food and the dishwasher, and much less for a dry snack bowl. Stainless steel and glass over plastic where food is hot is a sensible middle line.
What Goes on the Shelf, and How Much
Two of each, not ten. A shelf holding two cups, two plates, two bowls and one jug gets used. The same shelf holding twelve items becomes a place a child tips over rather than chooses from.
Reassess the heights and the contents every few months. A setup built for an eighteen-month-old is wrong for a three-year-old, and the usual failure is not that the child outgrew the idea but that nobody raised the shelf or upgraded the knife.
Where the Waste Goes
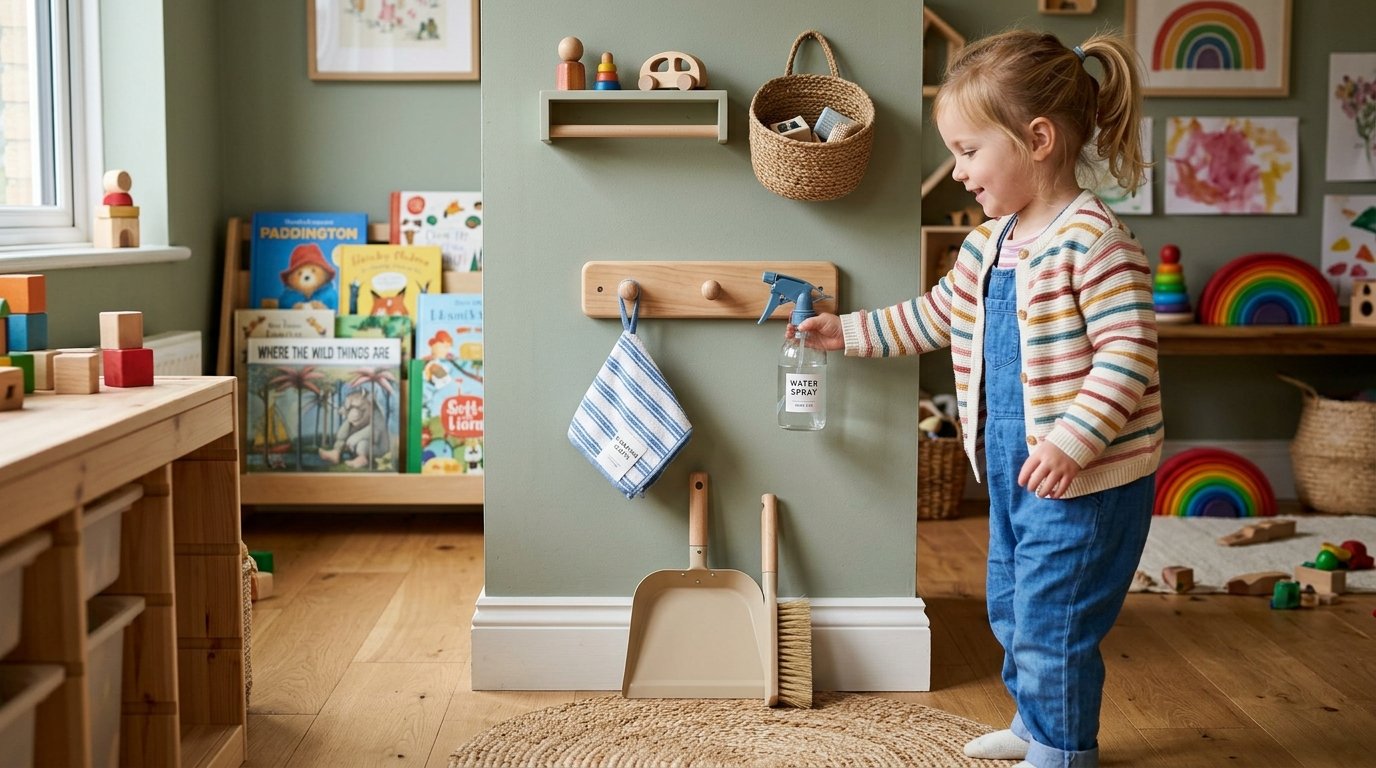
Almost nobody plans this, and it is the difference between a setup that runs itself and one that generates work for you. Three containers, all at child height:
- A small bowl for food scraps, so peel and cores have an obvious destination rather than the floor or your hand.
- A basket for dirty cloths and napkins, kept separate from the scraps.
- A small bin they can open themselves. A pedal bin defeats a toddler; an open basket does not.
Once these exist, the whole activity has a beginning and an end your child can complete alone, which is the actual goal.
When Things Break
A glass will break. Treat it as the lesson rather than the failure. Say what happened plainly, get the dustpan, and clear it up together without a lecture. That sequence is precisely how a child learns that glass needs care, and it is the reason to use glass in the first place.
Buy cheap and buy several. A set of small glass tumblers costs very little, and knowing you have three spares makes it far easier to stay calm about the first one.
Five Mistakes That Make the Whole Thing Fail
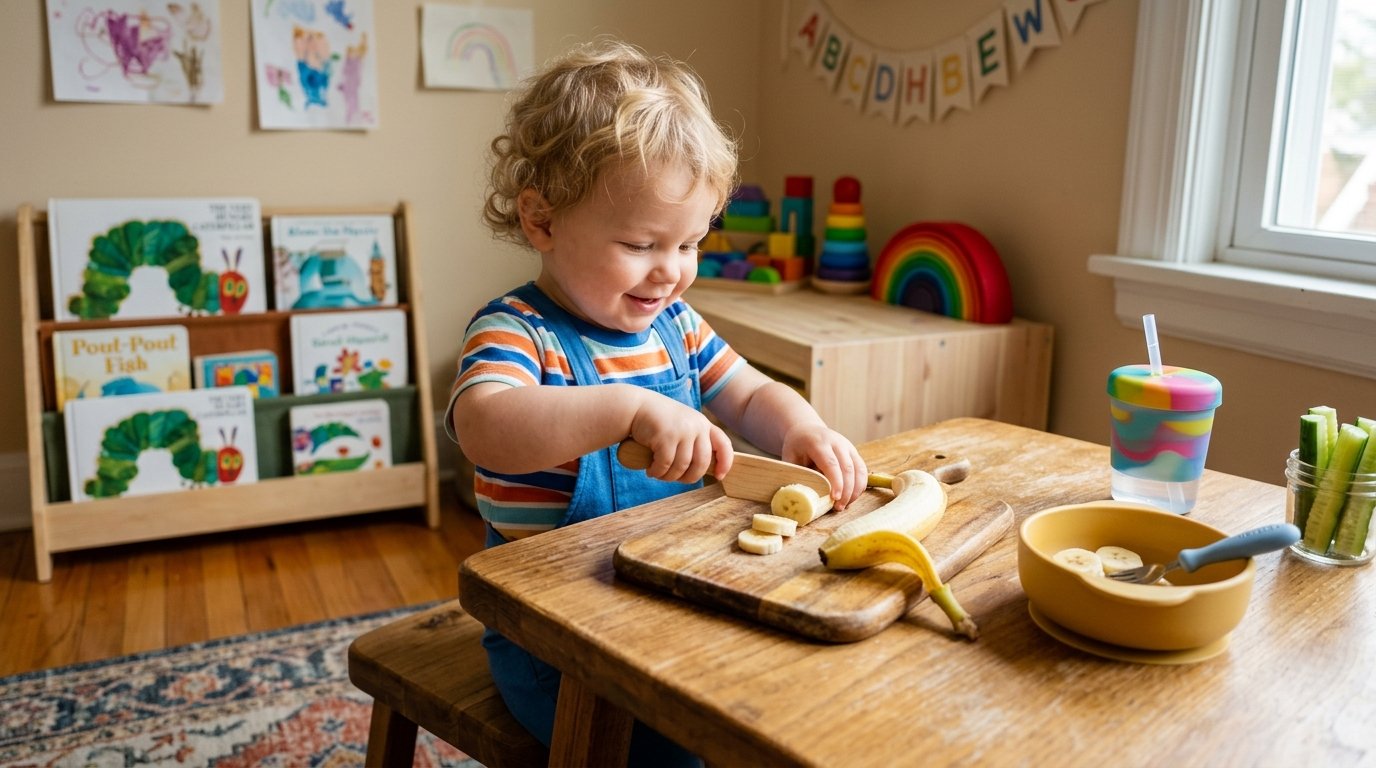
- Building it in a different room. A beautiful setup in the playroom loses to a kitchen drawer every time, because your child wants to be near you.
- Leaving the fake parts on. A tap that does not run and a hob that lights up train pretending, which is the opposite of the point.
- No water access. The most-used zone, and the one most often skipped because of the mess.
- Too much on the shelf. Two of each. Abundance reads as chaos to a toddler.
- Setting it up and never adjusting it. Heights and tools need revisiting every few months, otherwise the child outgrows the setup and you conclude they lost interest.
Frequently Asked Questions
How old should children be to help in the kitchen?
Most children can begin around 16 to 18 months with washing, pouring and carrying, and many families start at 12 months with a single low drawer. Cutting soft food with a blunt knife usually suits two to two and a half. Supervision is the constant at every age.
Are IKEA play kitchens safe for toddlers?
Both DUKTIG and SILLTRUT carry a 3+ rating from IKEA, largely because of small parts and stability. Families commonly use them earlier, which means taking responsibility for anchoring the unit to the wall, removing small detachable pieces, taking batteries out of any electronic parts, and supervising. If you are not willing to do those four things, wait.
What is the best play kitchen for a 2 year old?
For a Montessori setup, the best option is often no play kitchen at all: a BEKVÄM step stool at the real counter plus a low drawer of real items. If you want a unit, DUKTIG at $129.99 has adjustable legs that extend its useful life, and SILLTRUT at $99.99 is the smaller, cheaper alternative.
Can a 1 year old have a toy kitchen?
A one-year-old gets more from a low drawer of real objects than from a toy kitchen. At that age the appeal is opening, emptying and carrying, not cooking. Give them a drawer with wooden spoons, a small bowl and a cloth, and add furniture later if it is needed.
How much does a Montessori kitchen setup cost?
About $89 for a genuinely functional version using a BEKVÄM stool, a RÅSKOG cart and a VARIERA shelf insert. Around $310 for a full build with DUKTIG and TROFAST. Thirty-five dollars if you use an existing drawer and buy only the stool.
Do I need a working sink?
No, and most setups do not have one. A jug of water, a bowl, and a cloth cover almost everything a toddler wants to do with water. A slow-flow dispenser is a nice addition rather than a requirement.